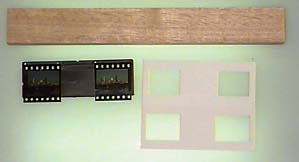

The film chips are placed into the modified RBT mount as they are normally used. You may like to have on-hand several modified RBT mounts that can cater for different vertical registration settings.
The film chips are adjusted for correct window
as usual with the RBT mount. The emulsion-side of the film chip is facing
downwards.

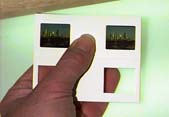
The cardboard mount is placed face-up (the side
as seen in the hand-viewer) over the RBT mount with the film chips in position.
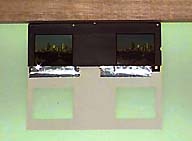
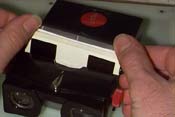
Pick up the two mounts holding them together as
shown, and turn the pair of them over...........

............so that the emulsion side of the chips,
and the internal surface of the carboard mount is now facing you. Push both
the cardboard mount and RBT mount up against an edge that is fastened to
the surface of a light box (eg: possibly use double-sided tape). Check that
the edges of the two mounts align visually at the sides, and double check
that the two mounts are up against the reference edge.
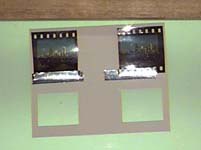
Tape the edges of the film chips into position
using Scotch #850 non-bleeding adhesive tape.
Remove the RBT mount by dis-engaging the registration
pins with the film sprockets without disturbing the position of the film
chips. (If necessary make sure the sprocket holes are covered with tape
to reduce spurious light-transmission through the mount.) It is preferable
for projection to only tape one edge of the film chip, as this allows for
expansion of the film chip from projection heat, thus minimising film-popping
and de-focussing.
Place the un-sealed mount into the hand viewer
and check the mounting. At this stage the mount can be taped shut across
the top by partially removing the mount from the slot in the viewer to make
the open-edge of the mount easily accessible. While the mount is held in
the viewer-slot, tape the mount shut across the open edge.
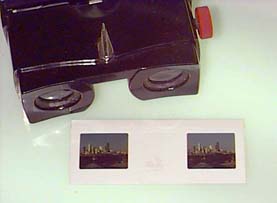
The finished mount is now ready for labelling and
viewing in the stereoscope or with a stereo projector.